
The difference between an average DIY siding job and a flawless, professional one comes down to the small details. It’s about knowing not just what to do, but how to do it right. Things like leaving the perfect expansion gap, nailing panels correctly so they don’t buckle, and making clean cuts around windows are what separate the pros from the amateurs. In this guide, we’re sharing the techniques our professional team uses on every project. We’ll provide the kind of in-depth instruction you won’t find in a basic vinyl siding installation diagram with pictures, covering the common mistakes to avoid and the finishing touches that create a truly polished look. This is your inside look at achieving a durable, beautiful finish that will last for years.
Key Takeaways
- Prep Work is Paramount: Your new siding’s performance depends on the condition of the wall underneath. Always repair damage and install a complete moisture barrier before you begin to ensure your home is protected from the inside out.
- Allow for Movement: Vinyl siding must expand and contract with temperature changes. Avoid the common mistake of nailing panels too tightly; instead, hang them by leaving a dime-sized gap under the nail head and at the ends of each panel to prevent buckling.
- Details Define the Final Look: A professional-quality job is all in the finishing touches. Precise cuts, perfectly installed J-channel around windows, and plumb corner posts are what create clean lines and a polished, durable result.
What Are the Essential Parts of Vinyl Siding?
Before you can tackle a siding project, it helps to understand that vinyl siding is more than just the panels you see from the street. It’s a complete system of interlocking parts designed to protect your home, manage moisture, and look great for years. Each piece has a specific job, and getting them all right is the key to a professional, long-lasting finish. Think of it like a puzzle—every component, from the hidden starter strips to the visible trim, needs to fit perfectly. Let’s walk through the essential parts you’ll be working with.
Vinyl Siding Panels
These are the stars of the show. Vinyl siding panels are the main exterior cladding that covers your walls, and they come in a huge range of styles, colors, and textures. You can find options that mimic the look of real wood grain, classic clapboard, or even rustic shakes, allowing you to match your home’s architectural style perfectly. Beyond aesthetics, these panels are the workhorses, providing a durable, low-maintenance shield against the elements. When you see a beautifully finished home, you’re seeing how well-chosen panels can completely transform its curb appeal. You can see some stunning examples in our project gallery.
J-Channel and Trim Pieces
If siding panels are the main event, J-channel is the essential supporting actor. This J-shaped trim piece is used to frame windows, doors, and rooflines, creating a clean, finished border where the siding panels end. Its primary job is to hide the cut edges of the panels and create a neat pocket for them to slide into. More importantly, J-channel helps direct water away from your home’s structure, preventing moisture from getting behind the siding. Along with other specialized trim pieces, it ensures every edge and opening on your home is professionally sealed and visually appealing.
Corner Posts and Starter Strips
Every successful siding installation starts with a solid foundation, and that’s where the starter strip comes in. This narrow strip is installed perfectly level along the bottom of the wall, and it’s what the first row of siding panels hooks into. If the starter strip isn’t level, the rest of your siding won’t be either. Corner posts are installed at every inside and outside corner of your house. These pieces provide a clean, vertical line that hides the ends of the siding panels, giving your home a polished look while also serving as another channel for the panels to fit into.
Fasteners and Accessories
The right fasteners are critical for a successful siding job. You’ll typically use corrosion-resistant roofing nails or screws designed specifically for vinyl siding. The key isn’t just what you use, but how you use it. Fasteners should be driven into the center of the nailing slot, and you must leave a small gap—about the thickness of a dime—between the nail head and the siding. This tiny space is crucial because it allows the panels to expand and contract with temperature changes. Nailing too tightly can cause the siding to buckle or warp over time.
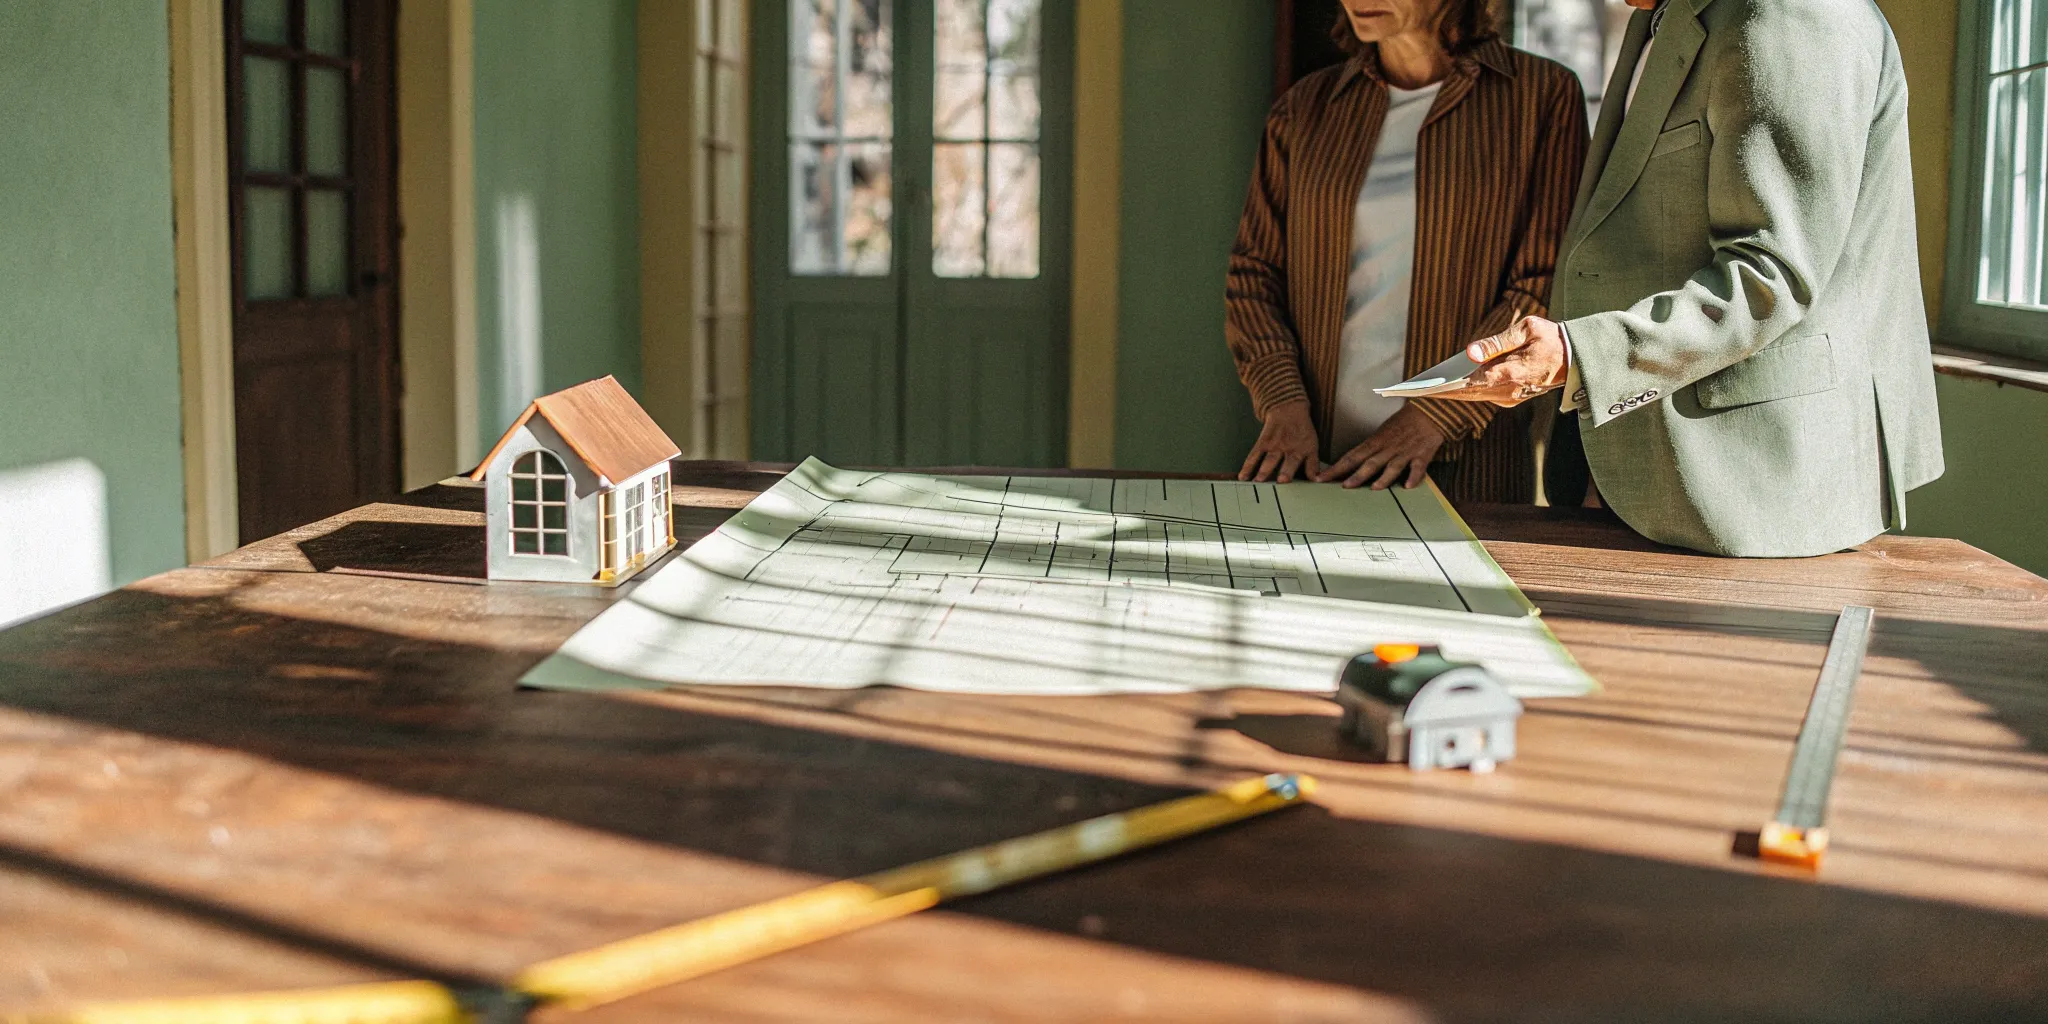
What Tools and Materials Will You Need?
Before you can even think about hanging that first panel, you need to gather your supplies. A successful siding project is all about preparation, and having the right tools and materials on hand will make the entire process smoother and safer. Think of it like cooking a great meal—you wouldn’t start without all your ingredients measured out. Taking the time to organize everything you need upfront will save you from frustrating mid-project trips to the hardware store and help you achieve a professional-looking finish. This prep work is a non-negotiable step for any major home renovation.
Your Tool Checklist
Having the right tools for the job is half the battle. You don’t need a professional workshop, but a few key items are essential for getting clean cuts and straight lines. You’ll want a quality measuring tape, a level, and a chalk line to ensure every panel is perfectly placed. For cutting, a power saw will handle the main panels, while a utility knife and tin snips are great for detailed trimming. You’ll also need a hammer, a snap-lock punch for creating fastening holes, and a pry bar for removing any old trim.
Essential Safety Gear
Your safety should always come first. You’ll be working at heights, so a sturdy stepladder or scaffolding is an absolute must—make sure it can comfortably support your weight and is on level ground. Don’t take any chances. Protective eyewear is also critical to shield your eyes from dust and debris, especially when cutting panels. A good pair of work gloves will protect your hands from sharp edges. Taking these simple precautions ensures your project is remembered for the beautiful results, not for an avoidable accident.
How to Calculate Your Material Needs
Now for the materials. Start by measuring the total square footage of the walls you plan to cover to determine how many vinyl siding panels you’ll need. But the panels are just one part of the equation. You’ll also need J-channel to frame your windows and doors, corner posts for a clean finish, and starter strips to get that first row perfectly level. Don’t forget essentials like flashing and building paper for moisture protection and corrosion-resistant nails to secure everything. Seeing all these pieces come together is what creates a durable, polished look, much like the projects in our gallery.
How to Prep Your Home for New Siding
Before a single new panel goes up, setting the stage for success is the most important part of the job. Proper preparation ensures your new siding will not only look fantastic but will also protect your home effectively for decades. Think of it as creating a perfect, clean canvas for your home’s exterior. When you take the time to properly strip away the old, inspect and repair the underlying structure, and install a modern moisture barrier, you’re doing more than just getting ready for new siding—you’re investing in the long-term health and integrity of your house. Skipping these foundational steps can lead to hidden moisture damage, poor insulation, and an uneven finish that undermines the entire project. A professional installation always begins with meticulous prep work, because what’s underneath is just as important as the beautiful new siding you see on the surface. This process gives you a critical opportunity to find and fix problems that have been hidden for years, ensuring your home is sound from the inside out before being sealed up.
Safely Remove Old Siding
Your first hands-on task is to carefully remove the existing siding. As you work, be on the lookout for any wet spots or rotten wood underneath—these are red flags that need to be addressed before you move forward. Once the old siding is off, take a scraper and clear away any old, brittle caulk from around windows and door frames. Finally, you’ll need to remove any exterior fixtures that are attached to the walls. This includes things like outdoor lights, your mailbox, shutters, and house numbers. Place them somewhere safe so you can reinstall them later.
Inspect and Repair Your Walls
With the walls exposed, it’s time for a thorough inspection. You’re looking at the sheathing, which is the base layer of your walls, typically made of plywood or OSB. Check for any signs of water damage, rot, or pest infestation. Any compromised sections must be repaired or replaced to ensure a solid, stable foundation for your new siding. This step is critical because covering up existing problems will only lead to more extensive and expensive home renovations down the road. A sound structure is essential for a siding job that lasts.
Install House Wrap and Moisture Barriers
After making any necessary repairs, the next step is to wrap your home in a weather-resistant barrier, often called a house wrap. This material acts as a crucial line of defense against moisture, preventing water from seeping into your wall structure while still allowing water vapor to escape. This helps prevent mold and rot. The house wrap should be installed according to the manufacturer’s instructions, ensuring it’s properly overlapped and secured. Pay special attention to sealing the seams and the areas around windows and doors with compatible flashing tape to create a continuous, airtight, and watertight shield for your home.
How to Install Vinyl Siding: Step by Step
With your walls prepped and your tools ready, it’s time to start the installation. This process is all about precision and patience. Each step builds directly on the last, so taking your time to get things right from the beginning will save you major headaches later. While many homeowners tackle this project themselves, the exacting nature of the work is why many choose to rely on a professional team to ensure a flawless, long-lasting finish. If you’re ready to proceed, let’s walk through the fundamental steps for installing your new siding.
Install a Level Starter Strip
Think of the starter strip as the foundation for your entire siding project. If this piece isn’t perfectly level, every single panel you install above it will be crooked. To begin, find the lowest corner of the sheathing where you’ll be installing siding. From there, snap a level chalk line around the entire perimeter of the house. You’ll align the top edge of your starter strip with this chalk line. Make sure to leave a small gap (about 1/4 inch) where the strip meets any corner posts to allow for expansion. Secure the starter strip to the wall with nails placed every 8 to 10 inches.
Hang the First Row of Panels
Now you can hang your first piece of siding. The bottom of the panel has a curved lip that is designed to lock into the starter strip. Push the panel gently into the strip until you feel it snap securely into place. Before you grab your hammer, use your level one more time to double-check that this first panel is perfectly straight. This initial row dictates the alignment for the rest of the wall, so it’s worth the extra moment to confirm everything is perfect. This first course is the most critical part of a successful horizontal siding installation.
Work Your Way Up the Wall
Once the first row is securely in place, you’ll continue the process by working your way up. Each new panel will lock into the top of the panel below it. As you add new rows, be sure to stagger the seams where the panels meet. Overlapping the seams in a random pattern will create a much more professional and visually appealing result, similar to what you’d see in our project gallery. This also helps improve the siding’s ability to shed water effectively. Continue this process of locking and leveling each panel as you move up toward the roofline.
Secure Panels with Proper Nailing
How you nail the siding is just as important as getting it level. Vinyl expands and contracts with temperature changes, and proper nailing allows for this movement. Always place your nails in the center of the nailing slots, never at the ends. Drive the nail straight, but don’t drive it all the way in. You should leave a small gap, about the thickness of a dime, between the nail head and the siding. This prevents the panel from buckling or warping over time. Nailing too tightly is one of the most common DIY mistakes and can ruin an otherwise perfect installation.
How to Measure and Cut Vinyl Siding
Once you’ve prepped your walls, it’s time for one of the most critical steps in the siding process: measuring and cutting your panels. This is where precision really counts. Getting your measurements and cuts just right is what gives your home that clean, polished look you see in professional projects. It’s the difference between a job that looks okay and one that looks fantastic for years to come.
Think of it like a puzzle—every piece needs to be cut perfectly to fit into the bigger picture. Rushing this stage can lead to wasted materials, frustrating gaps, and a finish that just doesn’t look right. We’ll walk through how to measure accurately, which tools to use for the cleanest cuts, and the single most important rule for cutting vinyl: always account for temperature changes. Taking your time here will pay off in a big way, giving you a durable and beautiful exterior that you can be proud of.
Measure Twice for Accurate Cuts
You’ve heard the old saying, “measure twice, cut once,” and it has never been more true than with vinyl siding. Before you make a single cut, you need a clear plan. Start by measuring the length and height of each wall to calculate the total square footage you need to cover. This helps you confirm you have enough material. Then, measure the specific length needed for each individual panel as you work your way up the wall. Don’t assume all your walls are perfectly uniform. Taking fresh measurements for each course ensures a snug, custom fit and minimizes waste. This careful planning is a cornerstone of our design and build services, ensuring every detail is accounted for from the start.
Use the Right Tools for Clean Edges
Having the right tool for the job makes all the difference between a clean, straight edge and a jagged mess. For long, straight cuts along the length of a panel, you can simply score it with a sharp utility knife and snap it back and forth. For cross cuts, a circular saw with a fine-toothed blade installed backward will give you a smooth, quick cut. Just be sure to wear safety glasses! When you need to make smaller, more intricate cuts to fit around things like windows, vents, or outdoor faucets, a pair of aviation snips (also called tin snips) will be your best friend. They give you the control you need for precise curves and notches, ensuring a professional siding installation.
Allow for Expansion and Contraction
This is the golden rule of vinyl siding installation: vinyl needs room to move. Because it’s a plastic material, it expands when it gets hot and contracts when it gets cold. If you cut your panels to fit too tightly against trim and corner posts, they will buckle and warp as the seasons change. To prevent this, always leave about a 1/4-inch gap at each end of the panel inside the J-channel or corner post. If you’re installing on a very cold day, leave a slightly larger gap (about 3/8 inch). This simple step is essential for a long-lasting finish, especially with Chicago’s dramatic temperature swings, and it’s a key detail in any quality home renovation.
How to Fit Siding Around Windows and Doors
Working around windows and doors is where a siding job really shows its quality. These areas require precise cuts and careful finishing to look clean and prevent water from getting behind the panels. Getting this part right is essential for a professional, long-lasting result that protects your home. It all comes down to creating a clean frame, cutting panels to fit perfectly, and ensuring everything is sealed against the weather. This is where attention to detail makes all the difference between an average job and a great one.
Install J-Channel Around Openings
Think of J-channel as a picture frame for your windows and doors. This trim piece creates a finished edge and a channel for siding panels to tuck into, hiding any cut ends. Start by measuring each side of the window or door. Cut the J-channel pieces to size, mitering the corners at a 45-degree angle for a clean, professional look. The top piece should overlap the side pieces to direct water out and away. Secure the J-channel around the entire opening, making sure it’s flush against the trim. Most manufacturers provide detailed guides on how to install vinyl siding trim pieces correctly, which is a great resource to follow for specific product instructions.
Cut Panels to Fit Around Trim
Once your J-channel is in place, you can begin fitting the siding panels. Measure the space from the last full panel to the edge of the window or door opening, and transfer that measurement to your siding panel. It’s important to leave about a ¼-inch gap for expansion. Use a pair of tin snips or a utility knife to make your cuts. For the panel that fits under a window, you’ll need to make a horizontal cut. After cutting, use a snap-lock punch to create tabs along the cut edge. These tabs will lock into the utility trim or J-channel, holding the panel securely in place without needing nails along that top edge.
Create Weatherproof Seals
Vinyl siding is your home’s first line of defense, but it isn’t completely waterproof. The real protection comes from the weather-resistant barrier, or house wrap, installed underneath. Before you even add the J-channel, you should ensure proper flashing is installed around all windows and doors to direct water away from the wall sheathing. The J-channel helps guide water over the siding face, but a solid seal underneath is what truly protects your home from moisture damage. This step is especially critical in Chicagoland, where we see plenty of rain and snow. A proper home renovation project always prioritizes what’s happening behind the walls to ensure a durable, lasting finish.
How to Install Corner Posts and Trim
Once your walls are nearly covered, it’s time to focus on the details that give your home a polished, professional look. Corner posts and trim are essential for creating clean lines and protecting the edges of your siding from the elements. This step is all about precision. Getting these finishing pieces right ensures your siding looks seamless and is properly sealed against moisture, which is a cornerstone of any successful home renovation. Taking your time here will pay off in the final appearance and long-term durability of your work.
Install Outside and Inside Corner Posts
Corner posts are the vertical pieces that cap off the corners of your house, creating a neat channel for the siding panels to slide into. You’ll need to “install corner posts at each corner of the house,” both for inside and outside corners. Start by positioning the post, leaving about a ¼-inch gap at the top where it meets the soffit or eaves to allow for expansion. Use a level to make sure it’s perfectly plumb before fastening. Secure the post by driving nails into the center of the nailing slots, leaving a small gap (about the thickness of a dime) between the nail head and the vinyl to allow for movement.
Finish Trim Around Rooflines and Eaves
Finishing the trim where the siding meets the roofline is one of the trickiest parts of the job, especially on gabled ends. A key rule is to “install any soffit parts under the eaves before putting up the last row of siding.” This ensures a clean transition. For angled cuts along a gable, “make a pattern for the slope… using a short piece of siding” to guide your cuts. Check this pattern every few rows to keep your lines consistent. You’ll install a final piece of J-channel or utility trim along the top to secure the last, custom-cut siding panel, giving your project a finished look that speaks to quality craftsmanship and thoughtful design and build services.
Common Siding Mistakes to Avoid
Installing vinyl siding might seem straightforward, but a few common missteps can turn a promising project into a real headache. These small errors can lead to siding that buckles, warps, or just doesn’t look right, ultimately compromising your home’s curb appeal and protection. Getting these details right from the start is the secret to a durable, professional-looking finish that lasts for years. While tackling a siding project yourself can be rewarding, understanding these potential pitfalls is crucial. For larger or more complex projects, working with a team that specializes in home renovations ensures every detail is handled correctly, giving you peace of mind and a flawless result. Let’s walk through the three most common mistakes so you can steer clear of them.
Mistake #1: Overdriving Nails
It’s natural to think that a tighter nail means a more secure panel, but with vinyl siding, the opposite is true. You must avoid driving the nails in too tightly. The panels need to hang loosely on the nails to allow for natural movement. A good rule of thumb is to leave a small gap—about the thickness of a dime (1/16 inch)—between the nail head and the siding. This space allows the vinyl to expand and contract with Chicago’s changing temperatures. If the panels are nailed down too tightly, they can buckle, warp, or crack when the weather shifts, creating an uneven and damaged exterior.
Mistake #2: Forgetting Expansion Gaps
Just as you need to leave space under the nail heads, you also need to leave room at the ends of the panels. Vinyl siding expands in the heat and shrinks in the cold, and it needs space to do so without causing problems. When you’re fitting panels into trim pieces like J-channels or corner posts, always leave a 1/4-inch gap. This provides the necessary wiggle room for the material to move. Forgetting this step is a critical error that can cause the siding to buckle and warp. Following proper installation guidelines on expansion is key to a long-lasting finish.
Mistake #3: Poor Alignment
Nothing screams “DIY job” like crooked siding. Even a slight misalignment can become incredibly noticeable as you add more rows up the wall. To keep everything looking sharp and professional, you need to check your work frequently with a level. Don’t just trust your eyes. After every five or six rows, take a moment to ensure the panels are perfectly horizontal and lining up correctly with adjacent walls. This small, consistent check prevents you from having to undo hours of work and ensures your home has that clean, uniform look you see in our project gallery.
Installing Siding in Chicagoland: What to Know
Installing siding anywhere requires careful planning, but here in Chicagoland, our weather adds a few extra layers to the project. From humid summers to freezing winters, your home’s exterior needs to be tough enough to handle it all. While it’s tempting to tackle siding yourself, understanding these local factors is key to a job that not only looks great but also protects your home for decades.
A successful siding project in this area means accounting for temperature swings, adhering to specific building codes, and even choosing the right time of year to do the work. Getting these details right prevents issues like warping, cracking, and moisture damage down the road. A professional team that specializes in home renovations is well-versed in these regional specifics, from picking the right materials to scheduling the work at the ideal time, ensuring your investment is built to last.
Choose the Right Season for Installation
When you schedule your siding installation matters a lot, especially with vinyl. Vinyl siding can become brittle and prone to cracking in cold temperatures. Trying to cut and nail it during a Chicago winter is a recipe for mistakes and wasted material. That’s why it’s best to plan your project for the warmer months. The material is more flexible and forgiving when the temperatures are mild, ensuring a smoother, more durable installation that can properly settle and perform as it should.
Understand Local Building Codes
Before you start, you need to know what your local building codes require. These regulations can dictate everything from whether you must remove the old siding to the specific types of insulation and moisture barriers needed underneath. Codes can differ from one suburb to the next, so what’s required in Naperville might not be the same as in Evanston. A trusted contractor will handle all the permitting and ensure your project is fully compliant, saving you from potential headaches and fines down the road.
Plan for Chicago’s Temperature Swings
Chicago is known for its dramatic temperature swings, and your home’s exterior bears the brunt of it. Vinyl siding naturally expands in the summer heat and contracts in the winter cold. If it’s installed too tightly without room to move, it can warp, buckle, or crack over time. This is why proper installation techniques, like leaving a small expansion gap at the end of each panel, are non-negotiable. It’s this attention to detail that ensures your siding looks beautiful and performs flawlessly through every season. You can see examples of this expert craftsmanship in our project gallery.
How to Add Finishing Touches and Inspect Your Work
You’re on the home stretch! With the main siding panels in place, it’s time to focus on the details that will protect your work and give your home a clean, professional look. These final steps—installing soffit and fascia, double-checking your weatherproofing, and planning for future maintenance—are just as important as hanging the first panel. Taking your time here ensures your new siding not only looks fantastic but also stands up to Chicago’s weather for years to come. This is where a good installation becomes a great one, safeguarding your home and your investment.
Install Soffit and Fascia
Soffit and fascia are the trim pieces that cover the underside of your roof’s overhang (the eaves). They hide exposed rafters, provide crucial attic ventilation, and create a polished transition from the siding to the roofline. To install them, start by nailing J-channel along the wall, right under the eaves. Next, measure and cut your soffit panels, making them about a quarter-inch shorter than the space to allow for expansion and contraction. You can then slide these panels into the channel. Finally, install the fascia siding pieces to cover the front-facing board of the eaves, securing them with nails every few feet.
Perform a Final Weatherproofing Check
Here’s something many people don’t realize: vinyl siding is water-resistant, not waterproof. Its main job is to shed the vast majority of rain and snow, but a small amount of moisture can still get behind it. That’s why the weather-resistant barrier, or house wrap, you installed earlier is so critical. Before you call the job done, do a final walk-around. Check that the seals around all your windows, doors, and vents are tight. A proper installation is your home’s first line of defense against water damage, which is why getting these details right is a cornerstone of any professional home renovation.
Maintain Your New Siding for Years to Come
Your new siding is tough, but a little care will keep it looking its best. Plan to gently wash it once a year with soap and water to remove any dirt and grime. As you clean, inspect the panels for any signs of cracking or warping, paying close attention after seasons with extreme temperature swings. To prevent pests from finding a way behind the siding, you can use foam insulation near the foundation and bend the bottom trim inward, securing it with liquid nails. Great-looking siding starts with a quality installation, which is the best way to ensure it holds up beautifully over time. You can see examples of lasting results in our project gallery.
Related Articles
- Step-by-Step Vinyl Siding Installation Instructions
- The Ultimate Guide to Vinyl Siding Overlap
- Vinyl Siding vs Fiber Cement: The Ultimate Guide
Frequently Asked Questions
Can I install new vinyl siding directly over my old siding? While it might seem like a great way to save time, it’s a shortcut we strongly advise against. The only way to know the true condition of your home’s structure is to remove the old siding and inspect the sheathing underneath. This step allows you to find and fix any hidden water damage or rot before sealing it up with new materials. Starting with a clean, sound surface is the key to ensuring your new siding performs well and protects your home for years to come.
How long should a DIY siding project take? The timeline really depends on the size and complexity of your house, as well as your experience level. For a smaller, single-story home with a simple layout, you might be able to complete the project over a few dedicated weekends. However, for larger homes, two-story houses, or buildings with lots of windows and angles, the project can easily take much longer. It’s always best to plan for more time than you think you’ll need so you don’t feel rushed.
What’s the single most common mistake people make when installing their own siding? The most frequent issue we see is improper nailing. It’s a natural instinct to drive nails in tightly to make sure something is secure, but vinyl siding needs to hang loosely on the wall. The material expands and contracts with temperature changes, and if it’s nailed down too tightly, it will buckle and warp. Always leave a small gap, about the thickness of a dime, between the nail head and the panel to allow for this essential movement.
Is installing a house wrap underneath the siding really necessary? Yes, it is absolutely essential. Think of your siding as a raincoat and the house wrap as the waterproof layer you wear underneath it. The siding sheds the vast majority of water, but the house wrap is what truly protects your home’s wooden structure from any moisture that gets behind it. Skipping this step leaves your home vulnerable to rot and mold, which can lead to much more serious and expensive problems down the road.
How do I repair a single panel if it gets damaged? One of the great things about vinyl siding is that you can replace individual panels without having to redo an entire wall. You’ll need a special tool called a zip tool, which is designed to unlock the siding panels from each other. You use it to unzip the damaged panel and the one directly above it, which gives you access to the nails. Once you remove the old piece, you can simply nail in a new one and use the zip tool to lock everything back into place.